Search

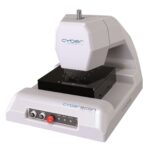
CT 350S Non‑Contact Surface Profilometer (Precise Motion)

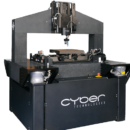
Equipped with a closed loop z‑axis control, the CT 350S is designed to allow the operator to take full advantage of the motorized z‑axis to assess components with heights within the entire 200 mm vertical range.

With a motorized table, it can handle areas to 350 mm square. With a large granite base, floor mounted and with air bearings in 3 axes the CT 350S is suitable for precision optics as well as other materials.

Quick Enquiry

If you want to know more about CT 350S Non‑Contact Surface Profilometer (Precise Motion)

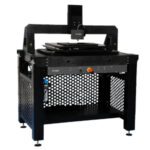
The CT 350S is a non‑contact profilometer with a 350 mm x‑, y‑scanning stage and a closed loop 200 mm z‑axis. All 3 axis use air bearings and magnetic linear motors.

The system is based on a massive granite construction with a vibration isolated floor stand. The x‑y motion system offers exceptional performance with an error of less than 100 nm. During the scanning process the z‑axis can follow the shape of the part. The height reading is a combination of the calibrated z encoder signal and the sensor height. This allows the system to achieve a very high resolution over the entire z‑axis range of 200 mm.

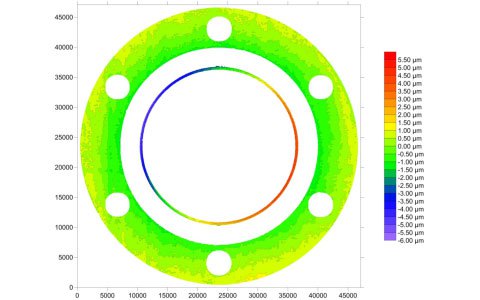
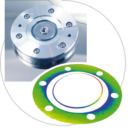
The CT 350S was originally designed and is ideal for measuring precision optics. However, contour measurements, step height, roughness and other 2D and 3D analyses are excellent examples of further applications. The sensors are available with a resolution down to 3 nm.

  • Fast, precise and accurate magnetic linear motors with air bearings
  • 4 kHz / 20 kHz measurement speed
  • 350 mm travel in x‑ and y‑direction, motorized 200 mm z‑axis, glass scales with 1 nm resolution
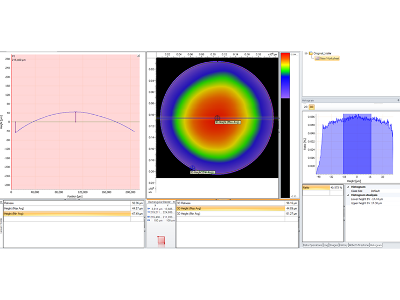
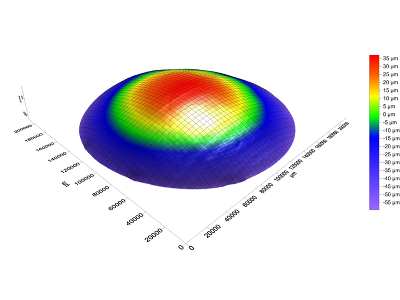
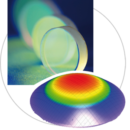
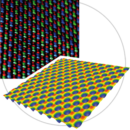
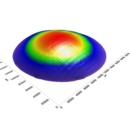
  • 2D profiles and 3D topographical maps (topography measurement)
  • Large scanning areas, up to the maximum travel of 350 mm at maximum x‑, y‑, z‑resolution
  • Chromatic white light sensors with a resolution down to 3 nm
  • High resolution off‑axis colour camera

CT 350S Datasheet