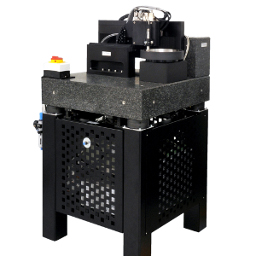
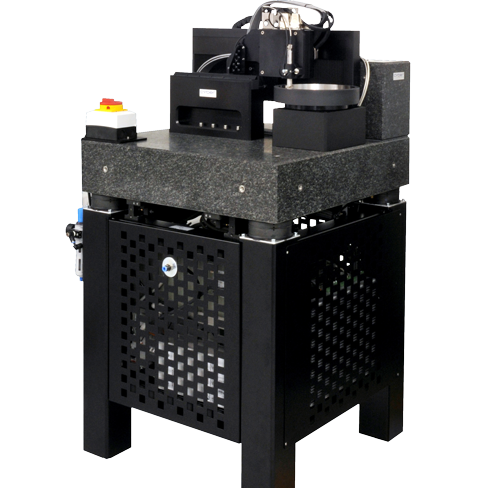
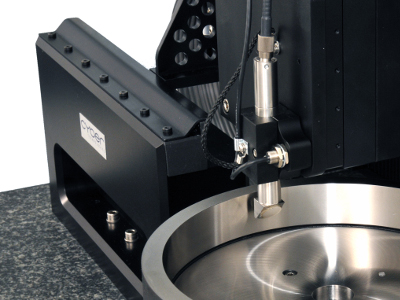
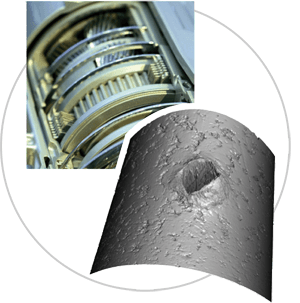
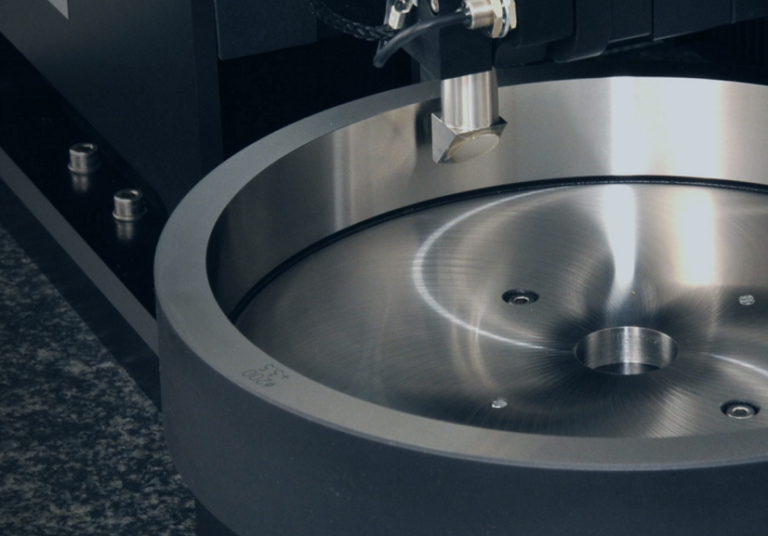
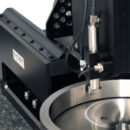
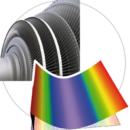
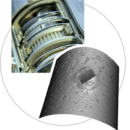
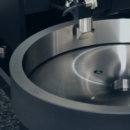
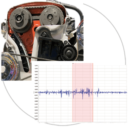
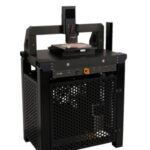
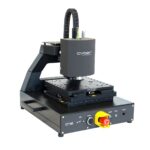
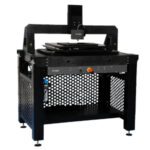
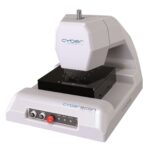
The CT R200 is a non‑contact profilometer with a rotary stage, a 200 mm x‑axis, and an automated z‑axis. The round part is placed on the rotary stage, the x‑ and the z‑axis move the sensor close to the surface of interest. The autofocus routine then positions the sensor in the optimal distance to the surface. The sample starts rotating and the system collects highly accurate profiles along the inner and outer diameter.
Using the automated x‑ and z‑ axis, different diameters on the same part can be scanned. The confocal sensor can measure with a data rate of up to 20 kHz. A scan of a 100 mm diameter with a lateral resolution of 5 microns takes 7 seconds. The height resolution of the sensor is 10 nm at a measurement range of 300 microns. The sensor is mounted on the closed loop x‑axis.
In case the roundness of the part exceeds the range of the sensor, the x‑axis adjusts the distance to the part automatically in real time during the scanning process. The height reading is a combination of the calibrated x‑axis signal and the sensor height readout.
